Building Your Own Solar Power System: A DIY Guide
Power outages, especially during peak consumption periods, can be a significant inconvenience. A personal solar power system offers a reliable backup and a step towards energy independence. This guide will walk you through the components, design considerations, and assembly of a DIY solar power system.
Understanding the Core Components
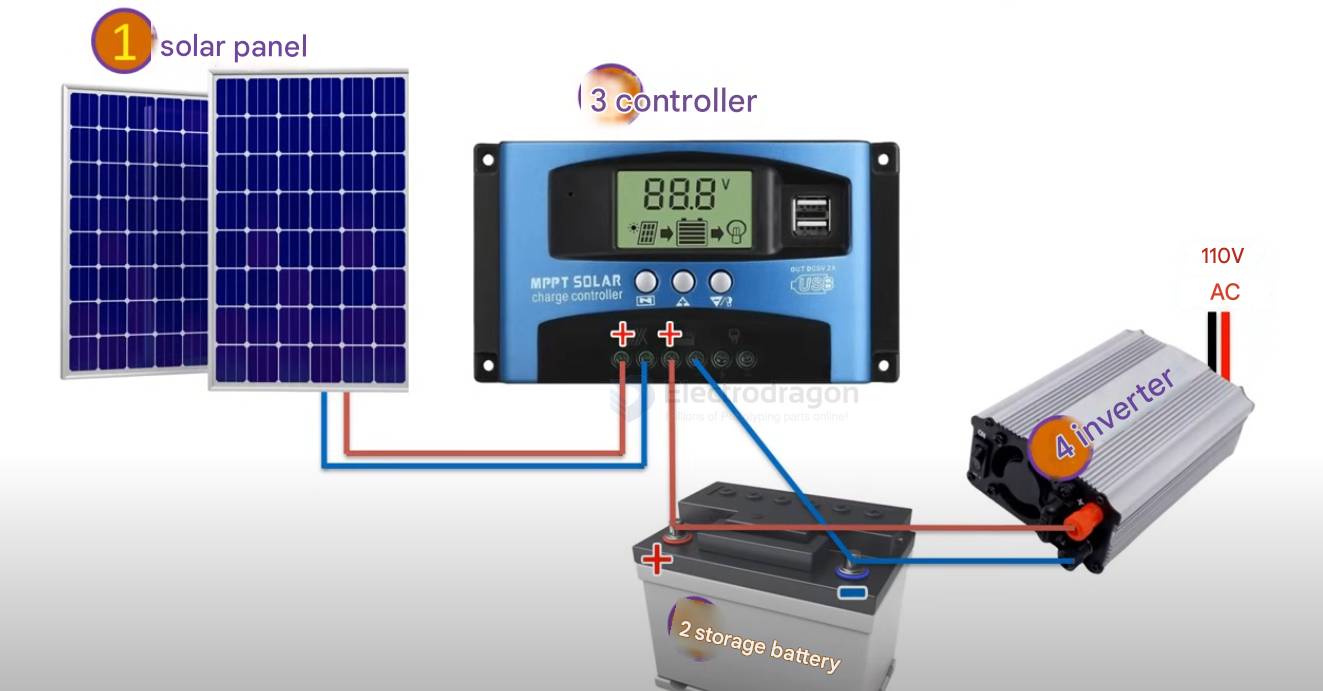
A basic solar power system comprises four main components:
- Solar Panels: Convert sunlight into electrical energy (DC power).
- Battery: Stores the energy generated by the solar panels.
- Solar Charge Controller: Regulates the power from the solar panels to the battery, preventing overcharging and over-discharging.
- Inverter: Converts the DC power from the battery into AC power, suitable for household appliances.
System Design and Sizing: A Practical Example
Let's design a system capable of supplying 500 Watts per hour, intended as a backup for temporary power outages (e.g., to keep a refrigerator running for 3-4 hours).
- Energy Demand: A refrigerator consuming ~200W/hour needs 800Wh for 4 hours.
- Battery Sizing:
- A 12V 100Ah battery provides 12V * 100Ah = 1200Wh. This is sufficient for the 800Wh demand.
- Inverter Sizing:
- Continuous power required: >500W.
- Instantaneous peak power: >1kW (or choose based on continuous power needs if clearly specified).
- Solar Panel Sizing (to charge a 100Ah battery):
- Assume a 12V 100W solar panel generates ~6A per hour.
- With an average of 4 hours of sunshine per day, one panel generates 6A * 4h = 24Ah per day.
- Two such panels in parallel would generate 48Ah per day.
- This means a 100Ah battery could be fully charged in approximately two days (100Ah / 48Ah/day ≈ 2 days).
- Alternative Charging: For faster charging or during cloudy weather, a 12V AC charger (e.g., >10A) can be used to charge the battery from mains electricity.
- Controller Sizing:
- A 100W 12V solar panel has a maximum current of about 7A (100W / 12V ≈ 8.33A, but often rated lower for charging). If using two panels, the total current would be around 14A.
- A 20A MPPT controller would suffice.
- For scalability, consider a 40A or 50A controller.
Connecting Your Solar Power System
Important: Ensure correct polarity at all times. Misconnections can damage components.
- Battery to Controller: Connect the positive (+) and negative (-) terminals of the battery to the corresponding battery terminals on the solar charge controller.
- Solar Panel(s) to Controller: Connect the positive (+) and negative (-) leads from the solar panel(s) to the corresponding solar panel input terminals on the controller.
- Inverter to Battery: Connect the positive (+) and negative (-) input terminals of the inverter to the positive (+) and negative (-) terminals of the battery respectively.
Maintenance for Longevity
Regular maintenance ensures your system operates efficiently and lasts longer.
- Solar Panels:
- Regularly clean the surface to remove dust, bird droppings, leaves, etc., using a soft brush or water. Avoid corrosive cleaners or scratching the surface.
- Check the stability of mounting structures and ensure bolted joints are secure and not corroded.
- Ensure panels are not shaded by plants or buildings.
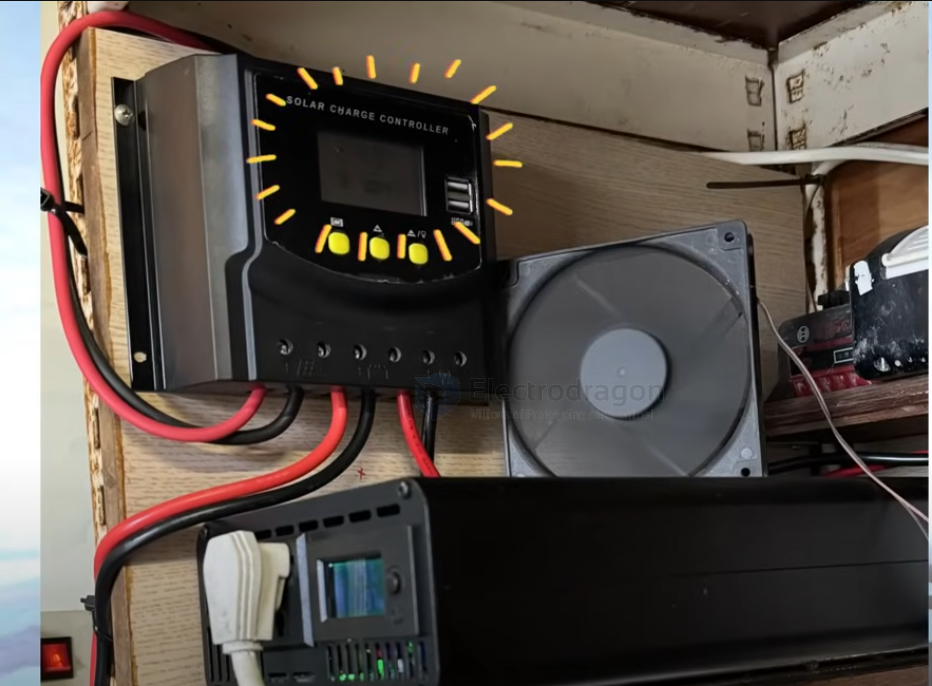
- Controller and Inverter:
- Periodically check their operation and any display data.
- Ensure vents are not blocked to maintain good heat dissipation.
- Clean the exterior to prevent dust accumulation.
- Cables and Connectors:
- Regularly check for loose connections, corrosion, or damage.
- Battery:
- Monitor its status. Avoid over-discharge or leaving it in a low battery state for extended periods.
- Check terminals for leakage, expansion, or corrosion.
- Ensure the battery is installed in a well-ventilated area to avoid overheating.
Conclusion
Building your own solar power system can be a rewarding project, providing energy independence and a reliable power backup. With careful planning and attention to detail, you can create a system tailored to your needs.
If you have any questions or ideas, feel free to discuss them!